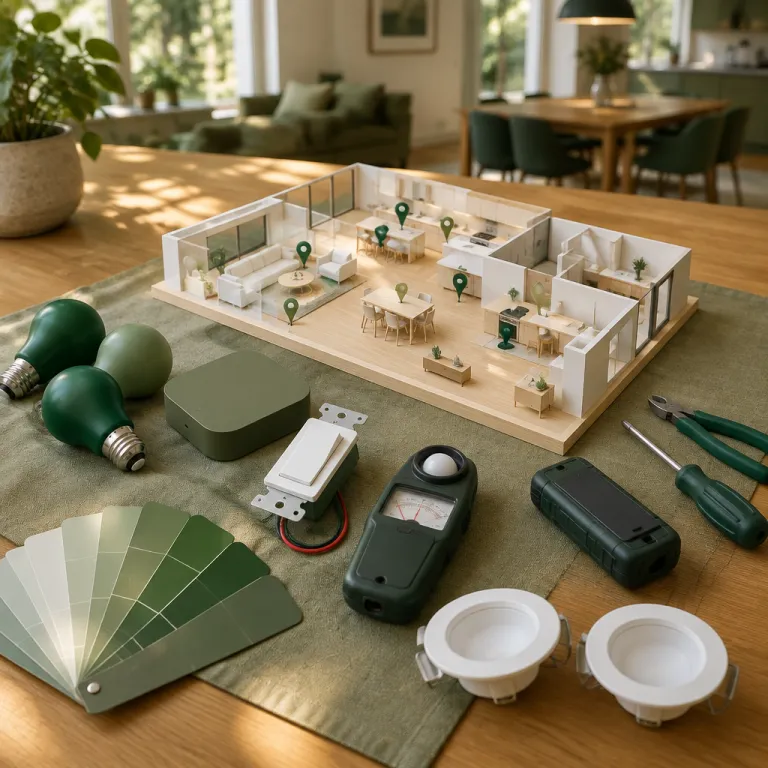
Why single room scenes break in an open concept space
When you use one app to control lighting in an open floor plan, traditional single room scenes quickly fall apart. Your eye reads the whole open space as one continuous area, so a bright kitchen scene next to a dim living room scene makes the entire room feel visually chaotic. Smart lighting only works in this context when scenes are designed around zones instead of isolated rooms.
Most smart apps still ask you to assign each light or fixture to a single room, which clashes with how an open concept layout actually behaves in daily life. In a combined kitchen, dining table and living room, the open plan means ceiling fixtures, floor lamps and table lamps all share one sightline across the floor. When you trigger a “cooking” scene that blasts the kitchen island with task lighting at full brightness, the adjacent ambient lighting in the living area suddenly feels gloomy and underlit.
This mismatch is why many people feel that their smart lighting open floor plan design looks better in screenshots than in real evenings. The app thinks in boxes on a floor plan, but your brain sees one large open floor where accent lighting, pendant lights and wall sconces all interact. To fix that, you need to stop thinking in terms of architectural rooms and start planning scenes by functional zones that cut across the plan space.
Designing zones instead of rooms in a smart lighting app
The most reliable way to tame lighting in an open concept layout is to define zones by activity, not by room labels. In practice, that means grouping lights into zones such as “prep zone” over the kitchen island, “dining zone” around the table and “relax zone” in the living room seating area. Each zone can mix fixtures from different architectural areas of the floor plan while still feeling coherent as one lighting design.
Start by walking the space and marking where you actually stand, sit and work, then map those positions to specific lights and fixtures in your app. A single zone might include ceiling cans over the kitchen, pendant lights above the island and a nearby floor lamp that spills light into the same area. In Google Home, for example, you can create custom groups that cut across rooms, then build scenes that reference those groups rather than the default room structure, and guides on advanced Google Home lighting controls explain how to surface these deeper automation options.
Once zones are defined, your smart lighting scenes should always reference those zones by name instead of generic room tags. A “family dinner” scene might raise ambient lighting around the table and soften accent lighting in the living room, while keeping task lighting over the kitchen worktops at a moderate level. This zone based approach respects how an open floor actually feels as one shared space, even though the app still sees multiple rooms on separate floor plans.
Color temperature and brightness ratios across one shared sightline
Color temperature is where many smart lighting open floor plan design attempts quietly fail. If the kitchen runs at a cool 4000 K while the living room glows at a warm 2200 K, the boundary between them becomes a harsh visual seam in an otherwise open space. Your brain reads that seam as disjointed design rather than intentional lighting ideas.
Instead, set overlapping color temperature bands for each functional area so transitions feel soft rather than abrupt. For example, you might keep kitchen task lighting between 3500 K and 4000 K, dining table ambient lighting between 3000 K and 3500 K and living room accent lighting between 2700 K and 3000 K. That way, when you fade from a cooking scene to a movie scene, the shift in light across the open concept layout feels like a gentle slide, not a jarring jump.
Brightness ratios matter just as much as color temperature, because the eye always adapts to the brightest fixture in the room. If ceiling cans over the kitchen island sit at 100 percent while a floor lamp in the living area sits at 30 percent, the living room will feel uncomfortably dim even if the lux level is technically adequate. A better rule is to keep the brightest zone no more than two steps above the darkest zone, so ambient lighting, task lighting and accent lighting all share a balanced hierarchy across the open floor.
Building cross room scenes in Hue, Alexa and unified ecosystems
Once zones are defined and color rules are clear, the next step is building cross room scenes that treat the open plan as one coordinated space. In Philips Hue, the most flexible method is to create zones that span multiple rooms, then build scenes that reference those zones instead of the default room containers. A “whole space wind down” scene, for instance, can dim kitchen lights, warm the dining area and lower living room lamps in one tap, and resources like three scene starter kits for daily routines show how to structure those transitions.
Alexa and Google Home both allow you to group devices across rooms, but the trick is to name groups by function rather than by architectural area. Create groups such as “open plan cooking”, “open plan dining” and “open plan lounge” that each include a mix of ceiling fixtures, table lamps, wall sconces and pendant lights. Then build routines that adjust multiple groups at once, so a single voice command can shift the entire lighting open concept from “workday bright” to “evening relaxed”.
If you are running a mixed ecosystem with Hue, Nanoleaf and Wi Fi bulbs, Matter support can simplify control by letting one app coordinate every light in the room. A detailed breakdown of how a joint fabric lets Alexa and HomeKit control the same bulb in one place is available in this guide on what Matter actually changes for shared control. With a unified protocol, you can design scenes around the real feel of the open floor instead of fighting app boundaries between brands.
Scene chains for cooking, dining and movie night transitions
Static scenes are only half the story in a smart lighting open floor plan design, because open spaces rarely stay in one mode for long. You cook, you eat, you relax, often without leaving the same general area of the floor. Scene chains let you move the entire space through those phases smoothly instead of toggling harshly between unrelated room scenes.
A simple three step chain might start with a “prep” scene that pushes kitchen task lighting and island fixtures to high brightness, keeps dining table ambient lighting moderate and leaves living room accent lighting low. A “dinner” scene then lowers kitchen ceiling lights, raises warm ambient lighting over the table and brings in soft wall sconces or table lamps in the adjacent living area. Finally, a “movie” scene drops most overhead fixtures, leans on a floor lamp and subtle accent lighting while keeping just enough natural light blocked or filtered to avoid glare.
In practice, you can trigger these chains with voice commands, app shortcuts or automations tied to time and motion in the space. Some users prefer a single button on a smart remote that cycles the open plan through prep, dining and movie modes in sequence. However you trigger them, the goal is the same ; the whole open floor should feel like one coordinated lighting design that shifts mood gracefully rather than a patchwork of unrelated room scenes.
FAQ
How do I start zoning lights in an existing open floor plan?
Begin by listing the main activities in your open space, such as cooking, eating, working and relaxing. Assign each light, lamp and ceiling fixture to one or more of those activities, ignoring traditional room labels. Then create app groups named after activities, and build scenes that adjust those groups together instead of relying on default room based scenes.
What color temperature works best for a combined kitchen and living room?
For most open concept homes, a neutral warm range between 2700 K and 3500 K keeps the space comfortable. Use the cooler end of that range for kitchen task lighting and island fixtures, and the warmer end for living room ambient lighting and accent lighting. Keeping all lights within that band avoids harsh transitions between areas that share one sightline.
How bright should my kitchen be compared with my living area?
A practical rule is to keep the brightest kitchen lights no more than two brightness steps above the living room lamps. For example, if kitchen ceiling cans sit at 80 percent, aim for 40 to 60 percent on table lamps and floor lamps in the living room. This ratio keeps the living area from feeling cave like while still giving you strong task lighting where you cook.
Can I mix different brands of smart bulbs in one open plan scene?
You can mix brands as long as one app or hub can control them all in coordinated scenes. Using a Matter compatible hub or bridge helps unify Wi Fi, Thread and Zigbee bulbs so they respond together. Once unified, you can treat every fixture in the open floor as part of one coherent lighting design rather than juggling separate brand apps.
Do I still need floor lamps and table lamps if I have many ceiling lights?
Yes, layered lighting with floor lamps, table lamps and wall sconces is essential in an open floor plan. Overhead fixtures provide general illumination, but lower level lamps create depth, soften shadows and improve the feel of the space at night. Combining ambient lighting, task lighting and accent lighting gives you far more control over mood than ceiling lights alone.