Understanding Lutron Dimmer Switches
Exploring the Basics of Lutron Dimmer Switches
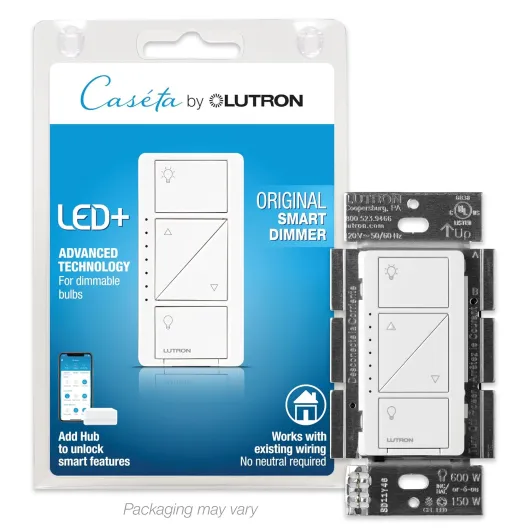
Understanding how Lutron dimmer switches work is crucial for anyone looking to optimize their smart lighting system. These devices, including popular models like the Lutron Maestro and Caseta, offer advanced control over your lighting environment. They allow you to adjust the light level to your preference, providing both energy efficiency and ambiance.
Dimmer switches are designed to work with various types of bulbs, including dimmable LED, incandescent bulbs, and more. However, compatibility is key. Using the right combination of dimmers and bulbs ensures that your lights turn on and off smoothly without flickering or buzzing. This is particularly important when dealing with multi-location setups, where companion dimmers may be used to control lights from different spots.
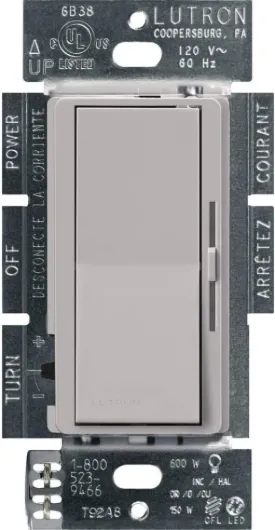
Lutron's products, like the Maestro LED dimmer, are known for their reliability and ease of use. They often come with features like low trim adjustment to fine-tune the dimming range, ensuring that even at the lowest settings, your lights maintain the desired brightness. The color white finish of many Lutron switches blends seamlessly with most home decors, adding to their appeal.
For those new to smart lighting, it's essential to understand the role of these switches in your overall system. They not only provide manual control but can also be integrated with smart home systems for automated lighting solutions. The Lutron app, for instance, allows for remote control and scheduling, adding convenience and flexibility.
When setting up your Lutron dimmer switch, ensure that you have the correct components, as some items may be sold separately. It's also advisable to consult a professional if you're unsure about the installation process or encounter persistent issues with your dimmers. For more insights on enhancing your smart home setup, consider exploring toggle switch covers and other accessories that can complement your lighting system.
Common Reasons for Dimmer Switch Issues
Identifying Common Issues with Lutron Dimmer Switches
When dealing with Lutron dimmer switches, particularly models like the Maestro and Caseta, users may encounter a few recurring issues that can cause frustration. Understanding these common problems is crucial for effective troubleshooting and ensuring your smart lighting system functions smoothly.
Compatibility Concerns
One of the most prevalent issues arises from compatibility. Not all LED bulbs are compatible with every dimmer switch. Lutron dimmers, including the Maestro LED and Pro dimmer, are designed to work with specific types of dimmable LED bulbs. Using incompatible bulbs can lead to flickering or the lights not turning off completely. It's essential to verify that your LED lights are dimmable and compatible with your specific Lutron product.
Wiring Problems
Improper wiring is another common culprit. Multi-location dimmer setups, like the Maestro multi-location dimmer, require precise wiring configurations. Any errors in the wiring can result in the lights staying on or not responding to the dimmer controls. Ensuring that the wiring is correctly installed according to the manufacturer's guidelines can resolve many of these issues.
Incorrect Settings
Sometimes, the issue lies in the settings of the dimmer switch itself. For instance, the low trim setting on a Lutron Maestro can affect how low the lights can dim. If set incorrectly, it might prevent the lights from turning off completely. Adjusting the low trim setting can help achieve the desired light level and ensure proper dimming.
Product-Specific Challenges
Different Lutron models have unique features that might contribute to dimmer issues. For example, the Maestro LED dimmer and companion dimmer setups require specific installation procedures. It's important to follow the product manual closely, as some components might be sold separately and need additional setup.
Environmental Factors
The location of your dimmer switch can also impact its performance. Factors such as temperature and humidity can affect the operation of electronic components. Ensuring that the switch is installed in a suitable environment can prevent unnecessary complications.
By understanding these common issues, users can better manage their smart lighting systems and take proactive steps to resolve problems as they arise.
Troubleshooting Steps for Persistent Dimmer Lights
Troubleshooting Persistent Dimmer Lights
When a Lutron dimmer switch behaves unpredictably, it can be frustrating. To effectively address these issues, a strategic approach to troubleshooting is essential. Below are practical steps to help diagnose and resolve persistent dimming problems in your smart lighting setup, like the Lutron Maestro or Caseta systems.
- Check the Dimmer Compatibility: The first step is to ensure that your Lutron dimmer switch is compatible with the LED bulbs in use. Not all dimmable LED bulbs are created equal, and some might not work seamlessly with every dimmer. Consult the product information or Lutron’s compatibility lists for your specific model.
- Inspect the Installation: Ensure that your dimmer switch is installed correctly. Incorrect wiring or improper placement in multi-location setups can cause the dimmer to malfunction. This is particularly important in complex installations, such as with maestro multi-location dimmers.
- Evaluate the Load Capacity: Every dimmer has a maximum wattage it can handle, which includes all connected lights. If your LED lights exceed the dimmer’s rating, you may need to reduce the load or switch to a higher-capacity pro dimmer.
- Test the Companion Dimmers: In systems using companion dimmers, ensure that all units are operational and correctly synchronized. A malfunction in one unit can affect the entire system’s functioning.
- Adjust the Low Trim: Low trim adjustments can prevent flickering at low light levels. If your lights are flickering or not turning off completely, tweaking the trim settings on a Lutron Maestro dimmer might help resolve the issue.
- Inspect for Outdated Firmware: Some Lutron dimmers use a smart control system through the Lutron app. Ensuring that both the app and the dimmer’s firmware are up-to-date can prevent software-related issues.
In case these steps do not resolve the problem, it might be beneficial to consider the influence of other electrical components as discussed in insights on the role of modern toggle light switches. Keep in mind that consulting professionals when needed can ensure your smart lighting system maintains its optimal performance.
The Role of Compatibility in Smart Lighting
Compatibility Considerations in Smart Lighting Systems
When addressing issues with Lutron dimmer switches, understanding compatibility can often be a pivotal factor. Smart lighting systems work optimally when each component aligns with the others, from dimmer switches like the Lutron Caseta, Maestro LEDs, to the type of bulbs being used.
Lutron has designed their dimmers to function with a wide variety of bulbs, yet not all are created equal. For optimal functionality, choose bulbs that are specifically labeled as "dimmable LED" or "dimmable incandescent bulbs". The Lutron Maestro LED dimmer, for example, is engineered to control these types of lights effectively. Without compatible bulbs, users might experience flickering or lights that don't completely turn off.
It's also necessary to make sure that the dimming range is properly calibrated. Some issues like the lights staying on may stem from an inadequately set low trim, affecting how dim the lights can get. Adjusting the low trim setting on your Maestro LED or Pro dimmer can sometimes resolve lingering illumination problems.
In multi-location setups, consistency is critical. When using products like the Maestro Multi, ensure all companion dimmers are compatible and designed for multi-location use. In terms of compatibility, it also helps to stay updated with the manufacturer's led app tools, like the Lutron app, which provides support for managing your lighting settings and diagnosing issues remotely.
This understanding of compatibility is an essential element of troubleshooting persistent issues you may face and can significantly reduce the likelihood of errors when integrated properly within your smart lighting framework.
Preventative Measures for Smart Lighting Systems
Proactive Measures to Enhance Your Smart Lighting System
Investing in a smart lighting system with features such as a Lutron dimmer switch or Maestro LED can offer enhanced light control and energy efficiency. However, to maintain their functionality and avoid persistent issues, consider implementing a few preventive strategies.- Choose Compatible Bulbs: Opt for dimmable LED bulbs compatible with your Lutron dimmer switch. This compatibility ensures optimal dimming performance and helps avoid flickering or buzzing sounds from your lights.
- Regularly Update Software: If you're using smart switches like the Lutron Caseta, ensure your Lutron app is updated. Keeping the software up-to-date can prevent glitches and improve the overall performance of your smart lighting system.
- Correct Installation: Ensure your dimmer switches are correctly installed, especially if using a Maestro multi-location setup. Misalignment in installation can lead to unexpected issues like lights not turning off properly.
- Monitor Energy Load: Keep in mind the maximum wattage supported by your dimmer. Overloading can lead to overheating and potential malfunctions, so balance the load across circuits when setting up multi-location switches.
- Adjust Light Settings: Use the low trim settings available on many modern Lutron dimmers to adjust the minimum light level. This allows for smoother dimming, especially with dimmable LED and incandescent bulbs.
- Environmental Considerations: Be aware of the location of your lighting systems. Environmental factors, such as temperature and humidity, can affect the performance of your lights and switches.
When to Seek Professional Help
When It's Time to Call an Expert
If you've tried all the recommended troubleshooting methods such as adjusting the low trim settings or assessing compatibility with your LED bulbs, and your Lutron dimmer switch is still not functioning as expected, it might be time to consult with a professional. Hiring an expert comes with numerous benefits:- Expert Knowledge: A professional is equipped with thorough knowledge about Lutron products, including the specific requirements of a pro dimmer, maestro LED dimmers, and companion dimmer setups.
- Efficient Problem-Solving: Experts can quickly identify obscure issues that might be overlooked in DIY troubleshooting, such as wiring problems or multi-location switch configurations that aren't obvious to non-professionals.
- Safe Handling: Handling electrical components can be dangerous, especially when dealing with intricate lighting systems and locations that involve multi-location maestro LED configurations. Professionals ensure safety measures are observed.
- Prevention of Further Damage: Incorrect DIY attempts might exacerbate the issue. An expert can prevent additional damage to your lights or dimmers, which could otherwise lead to expensive repairs.