
Understanding the basics of wireless 3 way switches
What Makes a Wireless 3 Way Switch Different?
Wireless 3 way switches are changing the way we control light in our homes. Unlike traditional wired switches, these products let you add control to a light fixture from two or more locations without running extra wires through your walls. This is especially useful for spaces like hallways, staircases, or large rooms where you want to control lighting from multiple spots.
How Does a Wireless 3 Way Switch Work?
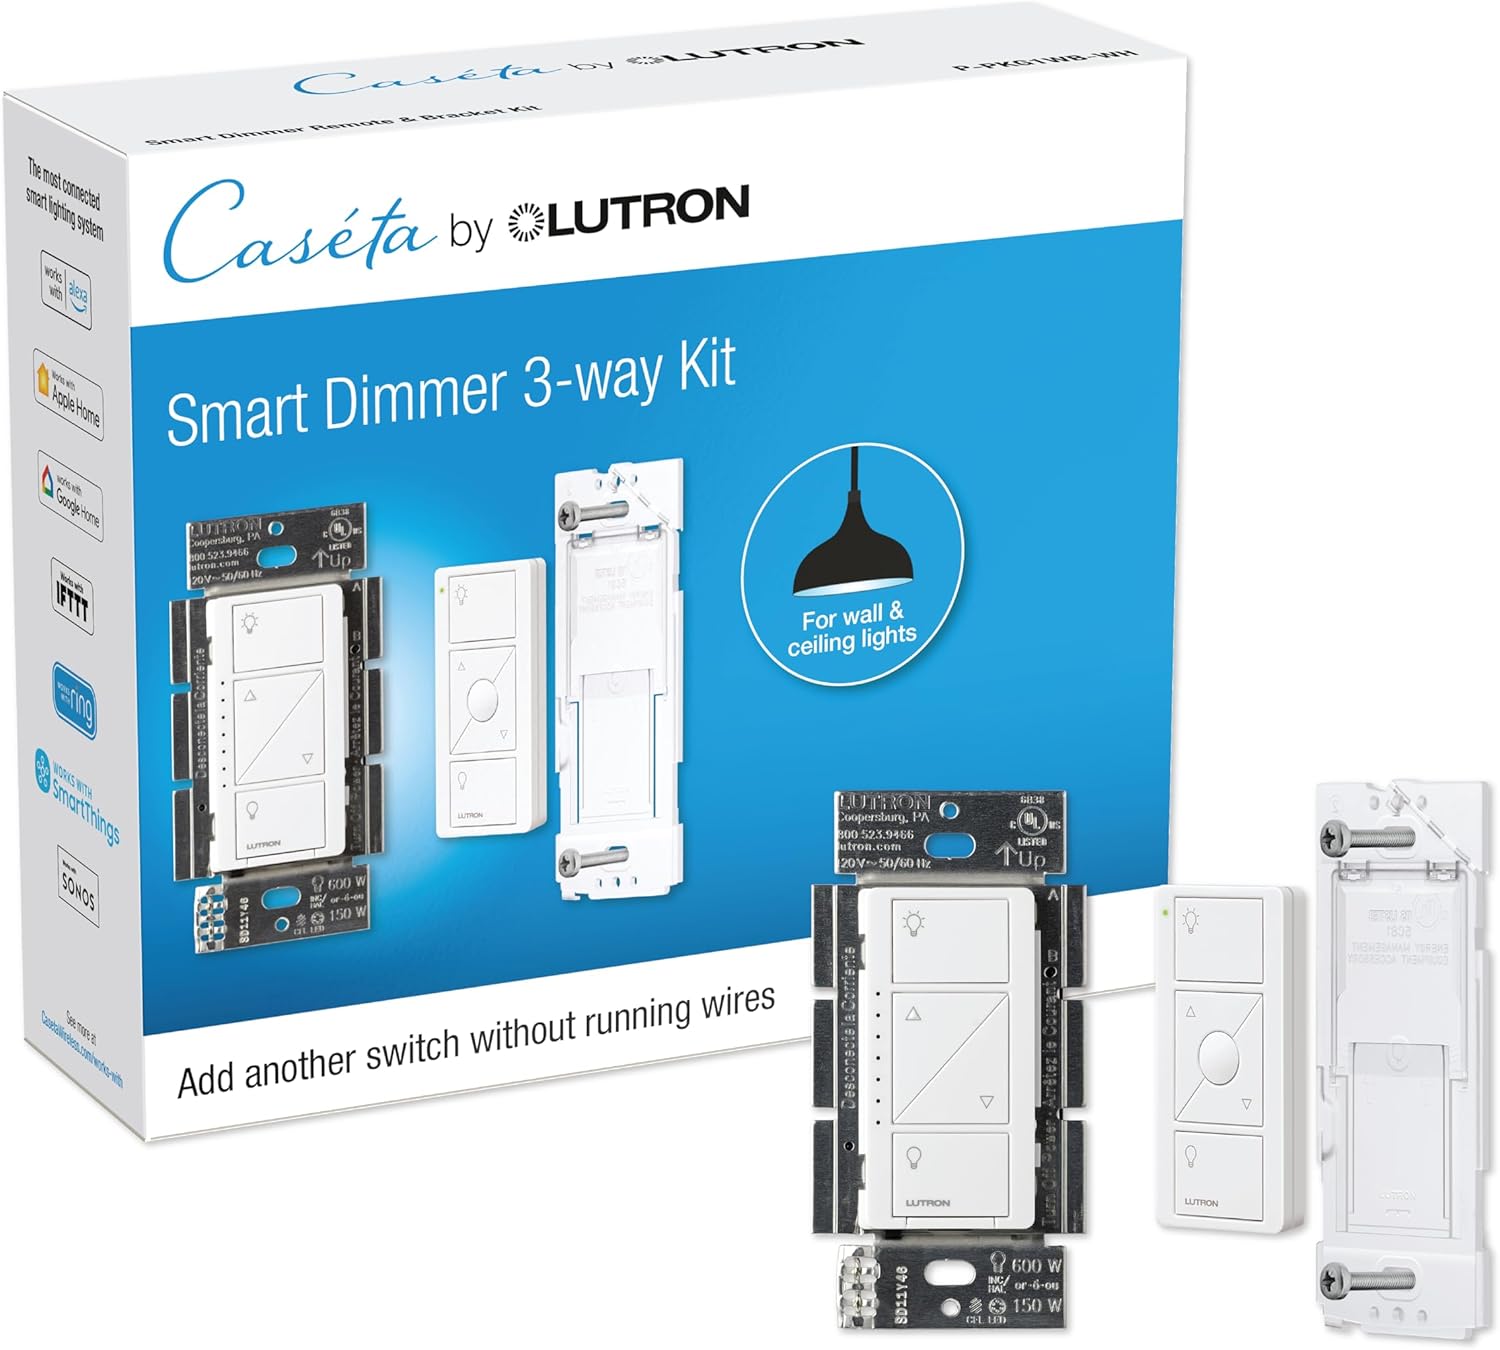
At the core, a wireless 3 way switch kit usually includes a wireless switch and a controller. The controller connects to your light fixture or existing wall switch wiring, while the wireless switch can be mounted anywhere—no need for a power supply or neutral wire in most cases. Some kits even offer battery free switches, using kinetic energy when you press them. This makes installation easy and flexible, especially in older homes or places where running new wires is difficult.
- Wireless light switches communicate with the controller using radio frequency or other wireless protocols.
- Switch kits are available in different styles, such as white or matching your wall color, to blend with your décor.
- Some smart switch kits are compatible with voice assistants and smart home systems, allowing remote switch control via app or voice.
Where Can You Use These Switches?
Wireless 3 way switches are ideal for adding switch control to rooms without existing wiring, replacing pull chain lights, or upgrading to smart lighting. They are also popular for renters who want an easy install and the freedom to move switches without damaging walls. Many products ship with everything you need for installation, and some even offer free shipping orders for added convenience.
For a deeper look at how a lighted toggle switch can enhance your smart lighting experience, view this guide.
Key benefits of using wireless 3 way switches in smart homes
Why wireless 3 way switches are a game changer for smart homes
Wireless 3 way switches have become a popular product in the smart lighting world, and for good reason. They offer a level of flexibility and convenience that traditional wired light switches simply can’t match. With a wireless switch kit, you can add control to your lights from multiple locations without the need to run extra wires through your walls. This makes installation much easier, especially in older homes where adding a new wired switch would be a hassle.
- Easy install: Most wireless switch kits are designed for quick, tool-free installation. Many don’t require a neutral wire, making them compatible with a wider range of homes.
- Flexible control: You can place a remote switch or controller anywhere you want—on a wall, on a table, or even carry it with you. This makes it easy to control light fixtures from different rooms or levels of your home.
- Battery free options: Some wireless light switches are battery free and powered by kinetic energy, so you never have to worry about replacing batteries.
- Smart integration: Wireless switches often work with smart home platforms, allowing you to control your lights with your phone, voice, or automation routines.
- Clean look: Many switch kits come in white or neutral colors to blend in with your wall, giving a modern, uncluttered view.
- Shipping orders and availability: Wireless switch kits are widely available online, and many retailers offer fast shipping orders for quick upgrades.
Choosing a wireless 3 way switch means you can add switch control to any light fixture, even if it’s controlled by a pull chain or lacks a traditional wall switch. This is especially useful for renters or anyone looking for a non-invasive solution. For a deeper look at how these switches can transform your smart lighting experience, check out this guide on how Z-Wave switches can transform your smart lighting experience.
Wireless switches are not just about convenience—they also help future-proof your home. As more products become smart and interconnected, having flexible, easy-to-install switch control options will make it easier to adapt your lighting to your needs.
Common challenges when installing wireless 3 way switches
What Can Make Wireless 3 Way Switch Installation Tricky?
Setting up a wireless 3 way switch for smart lighting is often marketed as an easy install, but there are a few common challenges that homeowners encounter. Understanding these can help you avoid frustration and ensure your smart switch kit works as intended.
- Compatibility with Existing Wiring: Many older homes use wired switches that may not have a neutral wire in the wall box. Some wireless switch kits require a neutral wire for power supply, while others are battery free or powered differently. Always check your light fixture and wall box before purchasing a product.
- Pairing and Range Issues: Wireless switches rely on radio frequency or Wi-Fi to control light fixtures. Thick walls, distance, or interference from other devices can disrupt the connection between the controller and the remote switch. This can lead to unreliable switch control or delayed responses.
- Physical Placement: Deciding where to add control points is important. Unlike traditional wired switches, a wireless light switch or remote switch can be placed almost anywhere. However, improper placement can make it hard to view or access the switch, reducing convenience.
- Product Selection: With so many switch kits and smart switches on the market, choosing the right one for your needs can be overwhelming. Some kits are designed for specific light switches or require a particular power supply. Others offer battery free operation or unique features like a pull chain or white finish. Researching product reviews and considering your smart lighting goals will help you make an informed choice.
- Integration with Other Smart Devices: If you want to control light fixtures as part of a larger smart home system, make sure your wireless switch is compatible with your existing setup. Some products work seamlessly with popular smart lighting platforms, while others may require additional hubs or controllers.
For those looking to enhance their smart lighting system, understanding the benefits and limitations of wireless switches is key. If you want to explore how temperature sensors can further optimize your smart home, check out this guide on the benefits of Z-Wave temperature sensors.
Choosing the right wireless 3 way switch for your needs
Factors to Consider Before Buying
When selecting a wireless 3 way switch for your smart lighting setup, it’s important to look at several features and compatibility points. Not every switch kit or controller will fit your needs, so here’s what to keep in mind:
- Compatibility with Your Light Fixtures: Check if the wireless switch works with your current light fixture and wall box. Some products require a neutral wire, while others are designed for battery free or powered operation.
- Type of Control: Decide if you want a remote switch, a wall-mounted smart switch, or a combination. Some kits offer both options, letting you add control points without extra wiring.
- Installation Requirements: Look for easy install switch kits, especially if you want to avoid complex wiring. Battery free wireless switches are popular for their simple installation and flexibility.
- Power Supply: Some wireless switches are powered by batteries, while others draw power from the existing wiring. Consider which is more convenient for your space and maintenance preferences.
- Design and Finish: Choose a product that matches your home’s style. Many switches come in white or other neutral colors to blend in with your wall.
- Range and Reliability: Review the product’s wireless range and how well it maintains connection. This is especially important if you want to control light from multiple rooms or floors.
- Smart Home Integration: If you already use a smart home platform, make sure your new switch is compatible. Some switches work with voice assistants or can be added to existing smart lighting systems.
- Shipping and Support: Check shipping orders and customer support options. Reliable brands often offer clear installation guides and responsive help if you run into issues.
Comparing Popular Options
| Product | Power Supply | Installation | Control Type | Special Features |
|---|---|---|---|---|
| Wireless Light Switch Kit | Battery free | Easy install, no neutral wire needed | Wall switch, remote | Flexible placement, add control anywhere |
| Smart Switch Controller | Wired | Requires neutral wire | Wall switch, app | Smart home integration, scheduling |
| Remote Switch Kit | Battery powered | Stick-on or screw-in | Remote, pull chain | Portable, ideal for renters |
By comparing these features, you can find a wireless switch that fits your installation needs, style, and smart lighting goals. Remember, the right product will make it easy to control light from anywhere in your home, whether you’re adding a new switch control or upgrading your current setup.
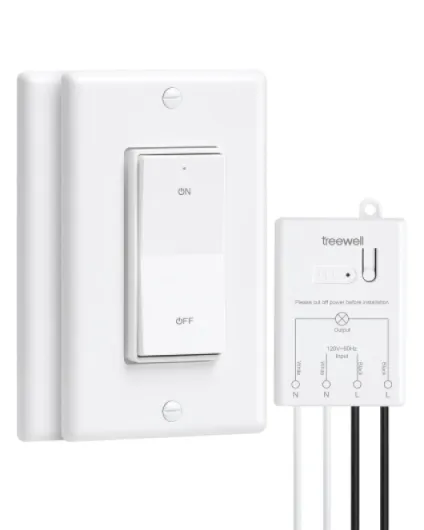
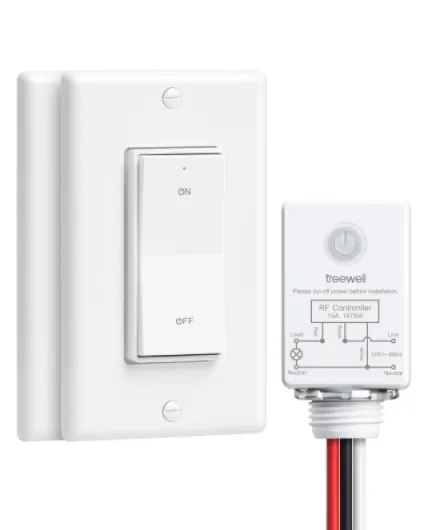
- + 3-way functionality allows control from multiple locations
- + 200FT RF range for flexibility in placement
- + No in-wall wiring required for easy installation
- + Programmable & expandable to add more switches
- + Includes 2 wall switches and 1 receiver
Step-by-step guide to installing a wireless 3 way switch
Gathering Your Tools and Materials
Before you start, make sure you have everything you need for an easy install. Most wireless 3 way switch kits come with the main switch, a remote switch, mounting hardware, and a user manual. Some products are battery free and powered by kinetic energy, while others may require a power supply or batteries. Check if your kit is compatible with your existing light fixture and wall box. If your home wiring lacks a neutral wire, look for a smart switch designed for such setups.
Preparing the Installation Area
Turn off the power at the breaker to avoid any electrical hazards. Remove the existing wired light switch from the wall, and carefully view the wiring layout. Take a photo for reference. If your kit is a wireless light switch, you may not need to run new wires, making the process much easier. For switch kits that replace a pull chain or add control to a hard-to-reach light, ensure the location is accessible and free of obstructions.
Installing the Main Smart Switch
- Connect the main smart switch to the existing wires in the wall box. Follow the product manual for correct wiring, especially if you have a neutral wire or not.
- Secure the switch in the wall and attach the faceplate. Make sure all connections are tight and the switch sits flush with the wall.
- Restore power and test the switch to confirm it controls the light fixture as expected.
Pairing and Mounting the Wireless Remote Switch
- Follow the kit instructions to pair the remote switch with the main controller. This usually involves pressing a button or toggling the switch control several times.
- Mount the remote switch on any wall or surface using the included adhesive or screws. Many wireless switches are battery free and can be placed anywhere, adding flexible control light options.
- Test the remote switch to ensure it communicates with the main switch and controls the light reliably.
Final Checks and Adjustments
Once both switches are installed, test all functions: turn the light on and off from each switch, check for any delay, and make sure the wireless control works from the intended locations. If you experience issues, review the product manual or contact the manufacturer’s support. Some smart lighting switch kits offer advanced features like dimming or scheduling, which you can set up through the controller or a compatible app.
With the right product and careful installation, you will add smart, flexible control to your home lighting without the hassle of complex wiring. Many shipping orders for wireless switch kits include everything needed for a straightforward installation, making it easy to upgrade your light switches and enjoy the benefits of smart lighting.
Tips for optimizing your smart lighting experience
Fine-tuning your smart lighting setup
Once your wireless 3 way switch kit is installed, a few adjustments can make your smart lighting experience even better. Here are some practical tips to help you get the most out of your new setup:
- Position your wireless switches wisely. Place the wall-mounted remote switch or controller in spots that are easy to reach, such as near room entrances or next to your bed. This makes it simple to control light without searching for the switch in the dark.
- Label your switches. If you have multiple wireless light switches or switch kits, label them to avoid confusion. This is especially helpful in larger homes or when you add control points in several rooms.
- Use scenes and automation. Many smart switch products let you create lighting scenes or schedules. For example, set your lights to turn on at sunset or dim automatically at night. This adds convenience and can help save energy.
- Check compatibility with other smart devices. Make sure your wireless switch or controller works with your existing smart home system. Some products require a neutral wire or a specific power supply, so double-check before adding new devices.
- Keep your firmware updated. Manufacturers often release updates to improve performance or add new features. Regularly check for updates for your smart switches and controllers.
- Consider battery free options. Some wireless switches are battery free and powered by kinetic energy. These are easy to install and reduce maintenance since you won’t need to replace batteries.
- Test your range. Wireless switches and remote controllers have a limited range. Test your setup to ensure you can control light fixtures from all desired locations. If needed, add repeaters or move your wireless switch for better coverage.
- Secure your network. Since your smart lighting relies on wireless communication, use strong passwords and keep your home Wi-Fi secure to protect your devices.
Making the most of your wireless lighting control
Smart lighting is about more than just turning lights on and off. With the right switch kits and careful installation, you can add control to any light fixture, whether it’s a wired or pull chain setup. Many wireless switches come in white to blend with your wall, and some offer easy install features for a hassle-free experience. Always review product details and shipping orders to ensure you get the right kit for your needs.
By following these tips, you’ll enjoy a flexible, reliable, and user-friendly smart lighting system that fits your lifestyle.