

Understanding how LED light strips work
How LED Strip Lights Transform Your Space
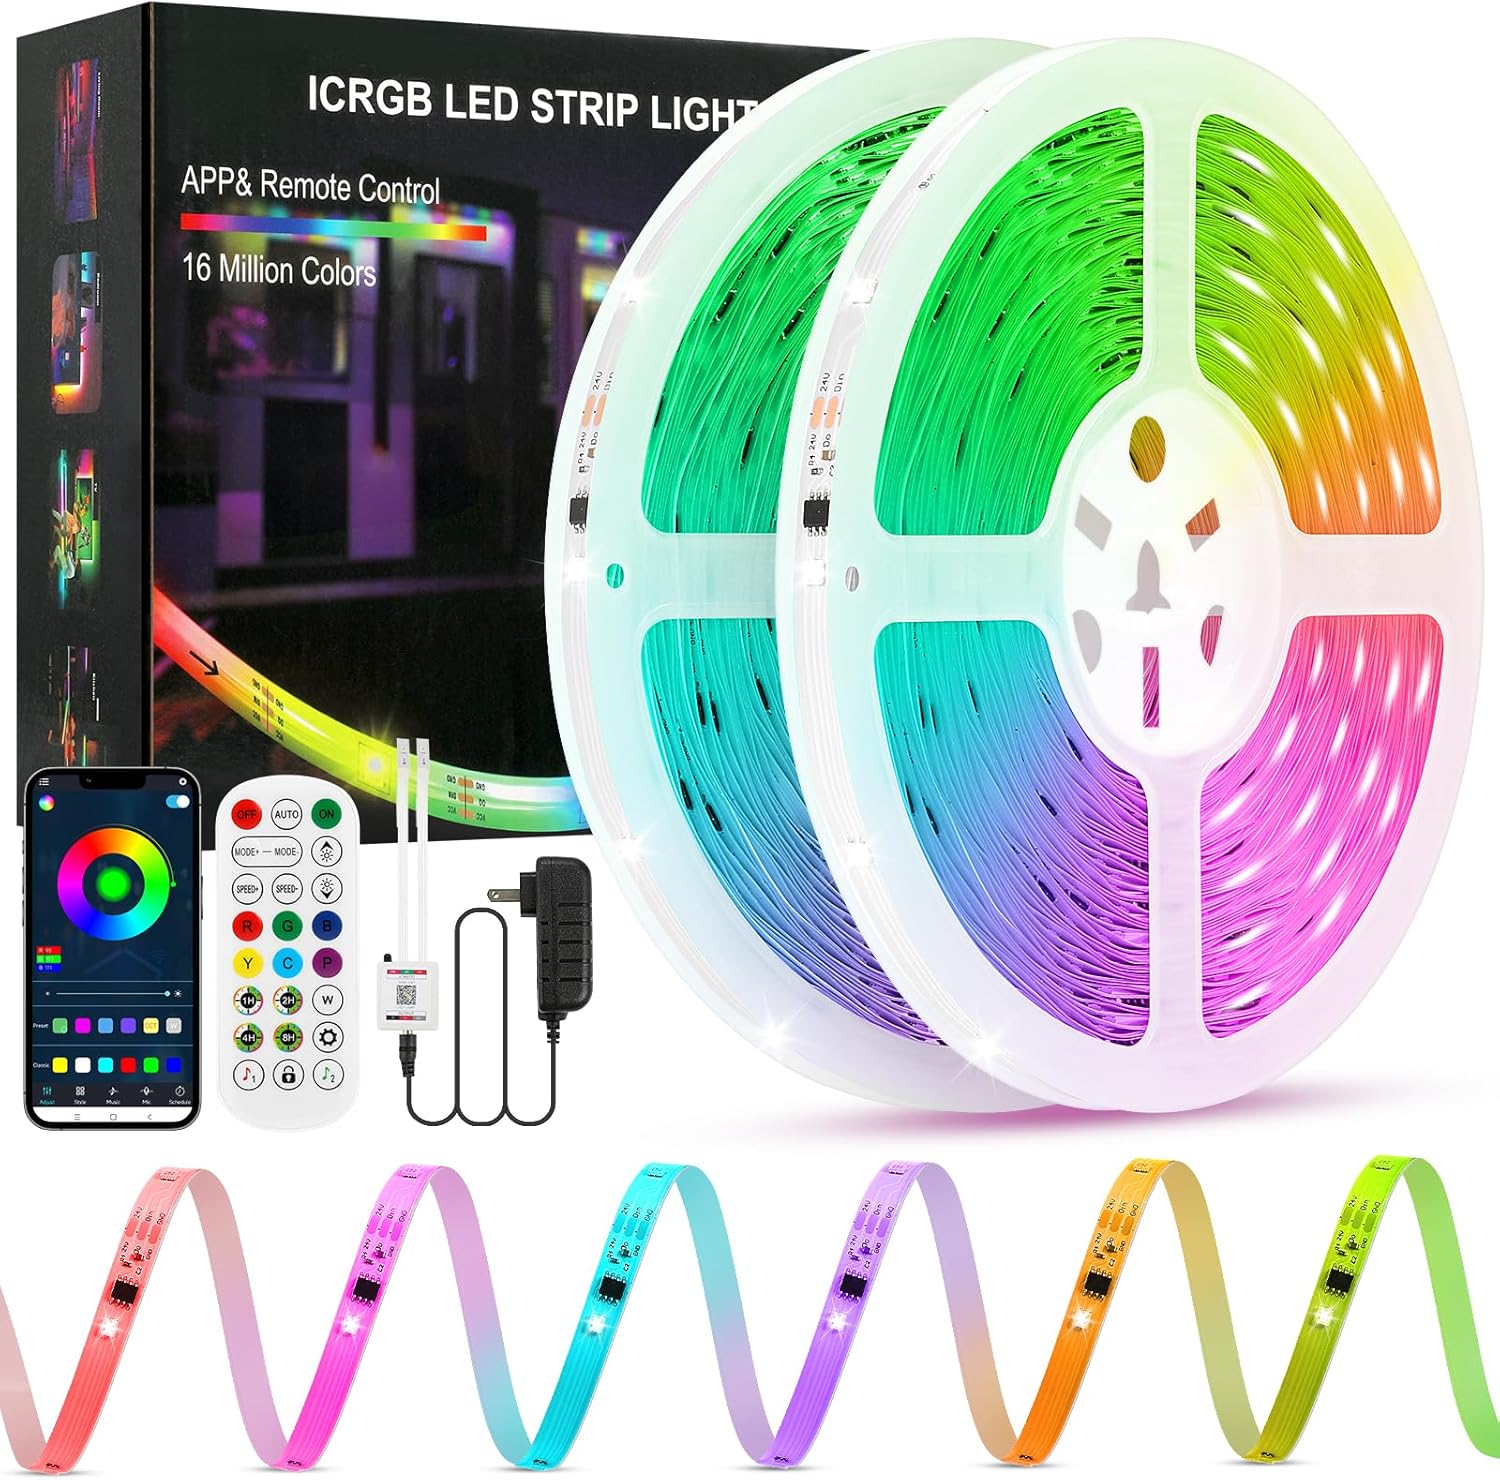
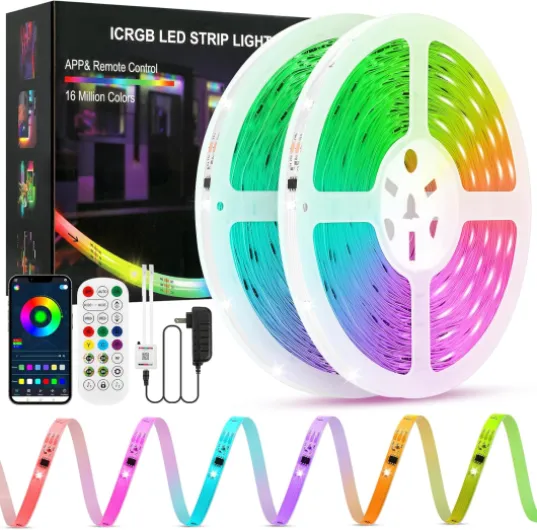
LED strip lights have become a popular choice for people looking to enhance their living spaces with flexible, energy-efficient lighting. These strips are made up of small LED chips mounted on a thin, flexible circuit board. The design allows the strip to bend and fit into various spaces, making it easy to install under cabinets, behind TVs, or along staircases. Whether you want to add a subtle glow or create a vibrant stream of color, LED light strips offer a customizable solution for any room.
What Makes LED Strips Unique?
Unlike traditional lights, LED strips are designed to be cut and shaped to fit your specific needs. Each strip features marked cut lines, usually spaced every few inches, indicating where it is safe to cut without damaging the rest of the strip. This flexibility helps people achieve a better fit in awkward or tight spaces, ensuring the light led setup looks seamless and professional. The ability to cut led strips into smaller pieces means you can use extra pieces elsewhere or continue your lighting project in another area.
How Do LED Strips Work?
LED strip lights work by passing an electrical current through the LED chips, producing light efficiently with minimal heat. The strips often come with an adhesive backing, making installation straightforward. Many modern strip lights are compatible with smart home systems, allowing you to control brightness, color, and even set schedules from your phone. This adaptability is one reason why people are turning to LED strips for both privacy and ambiance in their homes.
- Flexible design helps fit space better
- Cut lines make it easy to customize length
- Energy-efficient and long-lasting
- Smart features for remote control
For those interested in using LED strips in areas exposed to moisture, such as kitchens or bathrooms, consider exploring waterproof LED tape light options to ensure durability and safety.
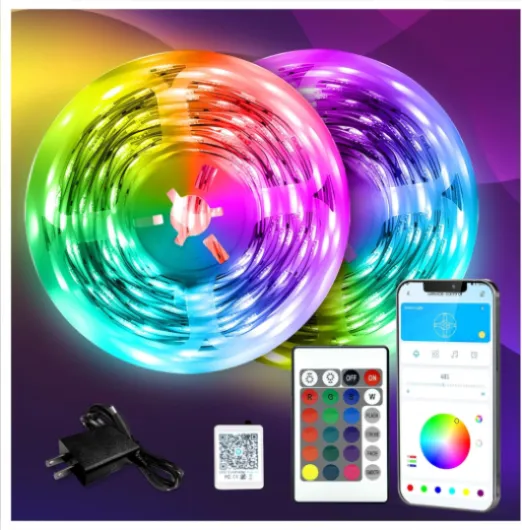
- + Long Length: 130ft for versatile placement
- + RGB Colors: Multiple colors for customizable lighting
- + Remote Control: Easy to operate from a distance
- + 24V Power Supply: Safe and efficient power source
Can you cut LED light strips?
Why LED Light Strips Can Be Cut
Many people wonder if they can cut LED light strips to fit their space better. The good news is that most modern LED strip lights are designed to be cut, making them a flexible solution for smart lighting setups. This feature helps you customize your lighting, whether you need shorter pieces for privacy or want to continue the light stream around corners or furniture.
How Cutting Works on LED Strips
LED strips are built with specific cut lines, usually marked by small scissor icons or printed lines along the strip. These lines indicate safe spots where you can cut without damaging the rest of the lights. Cutting at the wrong spot can break the circuit, so it’s important to look for these clear cut lines before making any changes.
- Cut lines: Only cut along the marked lines to ensure the strip continues to work.
- Strip types: Not all LED strips are the same. Some have cut lines every few inches, while others may be spaced further apart.
- Voltage: Make sure the strip light is not connected to power when cutting for safety.
What Happens After Cutting?
Once you cut the LED strip, you can use the extra pieces in other areas, as long as you reconnect them properly. This allows you to maximize your investment and create a seamless lighting effect throughout your home. For more details on reconnecting and sealing after cutting, you’ll find practical advice in the next section.
For a deeper dive into how to enhance your space with LED strip lights and controllers, check out this guide on enhancing your space with LED light strips and controllers.
Where and how to cut LED light strips
Finding the Right Place to Cut Your LED Strip
Before you start cutting, it’s important to understand that not all LED light strips can be cut anywhere. Most strips are designed with specific cut lines, usually marked by a small scissor icon or a dotted line printed on the strip itself. These marks indicate safe points where the strip can be separated without damaging the circuit. Cutting anywhere else can cause the strip to stop working or create uneven lighting.
- Look for the cut lines: These are spaced at regular intervals, often every 3 or 6 LEDs, depending on the model. Always make sure you cut exactly on these lines to keep the strip working properly.
- Measure your space: Before making any cuts, measure the area where you want to install the strip lights. This helps you determine how many pieces you’ll need and where to make each cut for a better fit.
- Use the right tools: A sharp pair of scissors or a precision cutter works best for a clear cut. Avoid tearing or bending the strip, as this can damage the LED lights or the circuitry.
How to Make a Clean Cut
Once you’ve identified the correct cut line, lay the strip flat on a clean surface. Hold the strip steady and cut straight across the marked line. This ensures that the copper pads on both sides of the cut remain intact, which is essential if you plan to reconnect or extend the strip later.
Some people prefer to leave a little extra length, just in case. However, cutting too far from the line can make it difficult to reconnect the strip or fit it into tight spaces. If you want to customize your smart lighting setup for privacy or to fit a unique space, precise cutting is key.
Planning for Reconnection and Placement
If you plan to use the cut pieces in different areas, make sure each segment has access to power. Many LED strips allow you to continue the light stream by using connectors or soldering wires to the copper pads. This flexibility helps people create custom lighting designs that fit their space better.
For outdoor or garden installations, choosing the right type of strip light and ensuring proper cutting and sealing is crucial. For more tips on selecting the best lighting for your garden, check out this guide on how to choose the best outdoor laser light for your garden.
What to do after cutting: reconnecting and sealing
Reconnecting Cut LED Strips for Seamless Lighting
After making a clear cut along the marked lines of your LED strip, many people wonder how to continue using both pieces. The good news is that reconnecting LED light strips is straightforward with the right connectors and a bit of care. Most modern LED strips are designed with copper pads at the cut lines, making it possible to join the pieces together or attach new connectors.- Use the right connectors: Choose connectors that match your strip type (single color, RGB, or RGBW). These connectors help you bridge the gap between cut pieces without soldering, making the process accessible for most DIYers.
- Align the copper pads: Make sure the copper pads on both ends of the cut LED strips are clean and aligned with the connector’s contacts. This ensures a reliable electrical connection and helps your lights work as intended.
- Test before final installation: Before sealing or mounting, power on the strip lights to check that all segments light up properly. This step helps catch any issues early, saving you time and frustration.
Sealing and Protecting Your LED Strip Lights
Once your LED strips are reconnected and working, it’s important to protect the exposed ends, especially if the strips will be installed in areas with moisture or dust. Proper sealing not only extends the lifespan of your lights but also helps maintain privacy and safety in your space.- Use silicone end caps: For waterproof LED strips, silicone end caps and a dab of silicone glue provide a tight seal over the cut ends. This keeps out water and dust, making your setup more durable.
- Heat shrink tubing: For indoor applications, heat shrink tubing can be used to cover and insulate the cut area. Slide the tubing over the end, apply heat, and it will shrink to fit snugly around the strip.
- Double-check for exposed wires: Any exposed copper or wiring should be covered to prevent short circuits or accidental contact. This is especially important if you plan to fit the strips in tight spaces or near metal surfaces.
Common mistakes to avoid when cutting LED strips
Frequent Errors When Cutting LED Strips
- Ignoring the Cut Lines: One of the most common mistakes people make is cutting the LED strip in the wrong place. LED strips are designed with clear cut lines, usually marked by a scissor icon or a dotted line. Cutting anywhere else can damage the circuit and prevent the lights from working.
- Not Measuring the Space Properly: Before you cut, always measure the space where you want the strip lights to fit. Cutting too short or too long can lead to wasted material or awkward gaps. Double-check measurements to ensure the strip will fit your space better.
- Forgetting to Power Off: Never cut a strip light while it is powered on. This can be dangerous and may cause a short circuit. Always disconnect the power supply before cutting or handling the LED strip.
- Skipping Reconnection Steps: After cutting, some people forget to properly reconnect the pieces. Use the right connectors or soldering methods to help the lights continue to work as intended. Poor connections can lead to flickering or non-working segments.
- Not Sealing the Ends: If you cut LED strips and leave the ends exposed, dust and moisture can get in, especially in areas like kitchens or bathrooms. Always seal the ends with silicone caps or heat shrink tubing to protect the strip and maintain privacy in your setup.
- Using the Wrong Tools: Using dull scissors or improper cutting tools can result in jagged edges and damage to the strip. Always use sharp scissors or a precision knife for a clean, clear cut along the designated lines.
- Overlooking Compatibility: Not all connectors and accessories work with every type of LED strip. Make sure any extra pieces or connectors you use are compatible with your specific strip light model.
By avoiding these mistakes, you can ensure your LED light strips work efficiently and fit your space perfectly, making your smart lighting setup more reliable and customizable.
Customizing your smart lighting with cut LED strips
Personalizing Your Space with Custom LED Strip Pieces
Cutting LED strip lights opens up a world of possibilities for people looking to tailor their lighting to unique spaces. Once you understand how LED strips work and where to make a clear cut, you can use the extra pieces to fit your needs better. Here are some practical ways to use cut LED strips to enhance your smart lighting setup:- Fit awkward spaces: Not every room or furniture piece is a perfect size for standard strip lights. By cutting the strip at the marked cut lines, you can make sure the lights fit the space exactly, whether it’s under cabinets, behind a TV, or along shelves.
- Create zones: Use separate pieces of LED strip to define different areas in a room. For example, you can highlight a workspace, reading nook, or display shelf, helping to organize your lighting and add visual interest.
- Improve privacy and ambiance: Strategic placement of cut LED strips can help create a sense of privacy or set the mood. For instance, installing strip lights behind curtains or under beds can provide a soft glow without harsh direct light.
- Extend or continue lighting: If you have leftover pieces after cutting, you can reconnect them using connectors or soldering. This lets you continue the light stream around corners or across longer distances, making the most of every strip.
- Highlight architectural lines: Use cut LED strips to trace the lines of stairs, coves, or ceiling features. This not only looks modern but also helps with safety by illuminating steps and edges.
Tips for a Seamless Customization
- Always double-check the cut lines before making any cuts to avoid damaging the strip.
- Test each piece after cutting to make sure the LEDs work as expected.
- Use connectors designed for your LED strip type to help pieces fit together securely.
- Seal any exposed ends to protect against dust and moisture, especially if the lights are installed in kitchens or bathrooms.